What I learned taking an antique upright piano apart to clean and restore the inside…
Step 3: Cleaning Lower Case
This post is not nearly as interesting as the others, but it is the next step in my project, so for the sake of chronology and archiving, here it is…

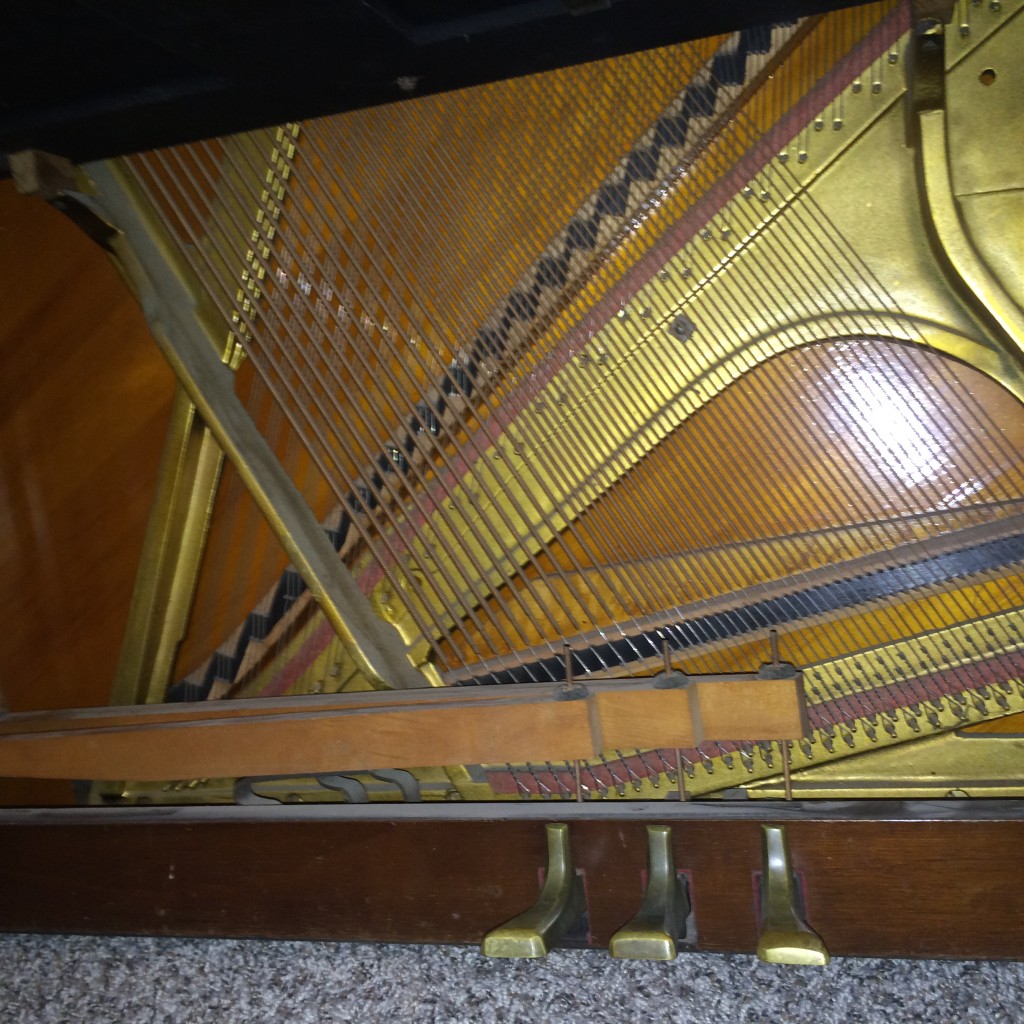
With the action out to work on later and the upper part of the case and keyboard all cleaned, my next step was to remove the lower front board (#8 on the diagram) to clean out around the pedals and lower strings. This board is quickly taken out by lifting on a metal spring that holds it in place.
The board leans forward and can be easily pulled out. With shop vac in hand, a few minutes is all it took to clean out the accumulation of dust from the base, around the strings, and along the pedal lifts.
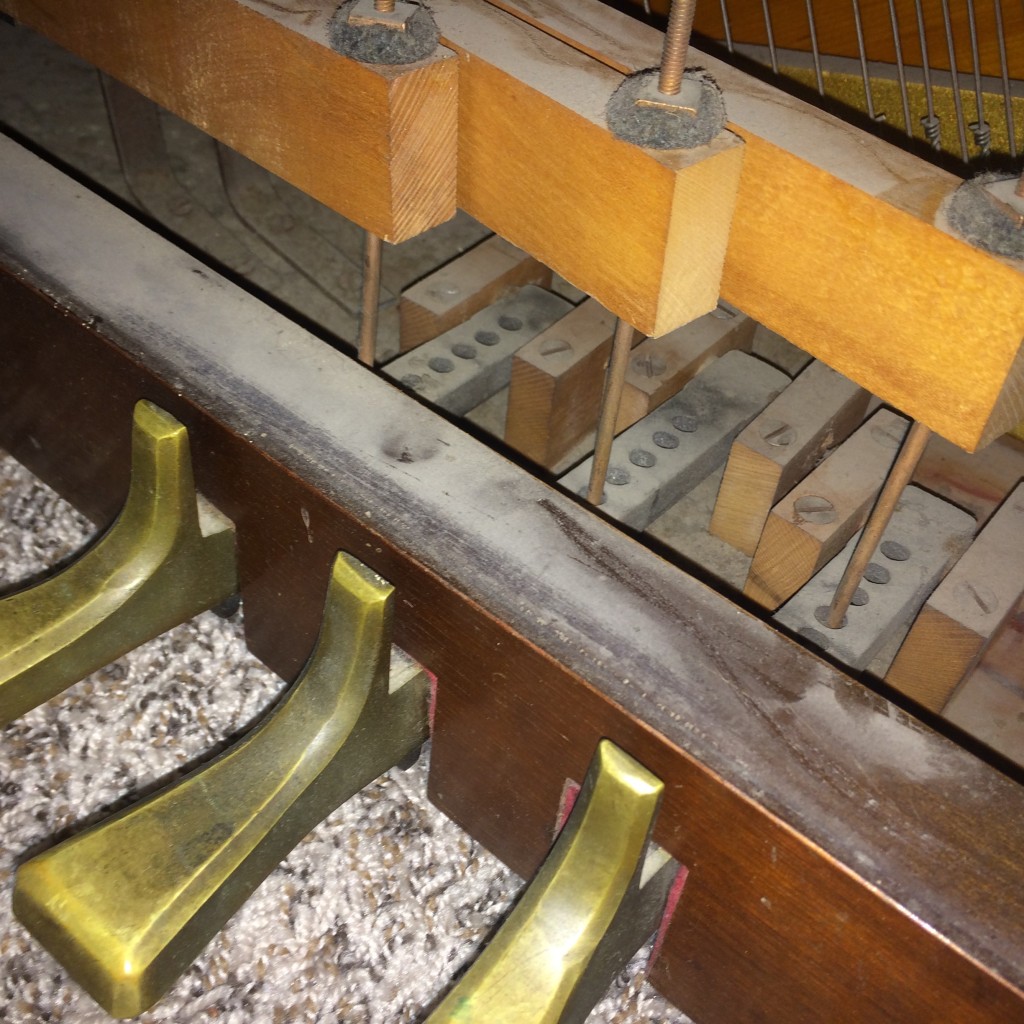
The wooden levers that are moved by the pedals are connected to wooden push rods. Some pianos have 2 pedals and rods; most have 3. These rods run vertically in the left-hand side of the case and push up on various bars in the action. When you step on a pedal, the end of the lift bar drops down (see Image 1). This lifts the other end of the wooden block in which is sitting the wooden dowel stick. The upper end of this stick rests in a hole one of three bars in the action. Pushing down on the pedal causes this dowel rod to lift up toward the top of the piano, causing one of the bars to move in the action. Depending on which pedal you’ve pushed, you get different results.
- Soft pedal (L) – attached to a bar that pushes all 88 hammers closer to the strings, thus making the sound softer when they hit
- Sustain (M) – Pulls all the dampers away from the strings allowing the strings to continue ringing after being struck. Normally, a felt damper falls back on the string as soon as the hammer comes up. This causes the string to play and then be quickly muted.
- Bass sustain (R) – Pulls the dampers away from the bass section. This allows the bass notes to continue ringing while the middle and upper keys play normally.
Up next in part 5: Tackling the action. I know this will at least involve reshaping hammers and replacing the bridle straps. This is the fun part…


Wow! What a project! It has been very interesting! Great accomplishment!???